
Design Your Own Planner: DIY Tips and Tricks
In a world that moves at an ever-increasing pace, staying organized is essential. While pre-made planners abound, there’s something special about crafting your planner tailored to your unique needs and style. Designing your planner not only ensures it meets your requirements perfectly but also allows you to unleash your creativity.
In this guide, we’ll explore DIY tips and tricks to help you design a planner that’s both functional and beautiful.
Start with a Vision:
Before diving into the actual design process, take some time to envision how you want your planner to look and function. Consider your daily routines, tasks, and goals. Do you need space for detailed schedules, habit tracking, or inspirational quotes? Visualize the layout and features that will best support your productivity and well-being.
Choose the Right Supplies:
The beauty of designing your planner lies in the freedom to select materials that reflect your style. Opt for a sturdy notebook or binder that can withstand daily use. You’ll also need pens, markers, stickers, washi tape, and any other embellishments you want to incorporate. Don’t forget about functional elements like dividers, pockets, and page markers.
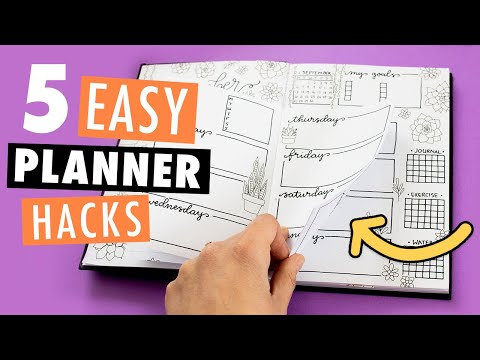
Create a Custom Layout:
One of the advantages of DIY planners is the ability to create a layout that suits your specific needs. Experiment with different formats for monthly, weekly, and daily spreads. Consider including sections for to-do lists, meal planning, goal setting, and notes. Leave room for customization and flexibility to adapt as your needs evolve.
Add Personal Touches:
Customize your planner to reflect your unique style and personality by infusing it with personal touches that speak to you. Integrate your preferred colors, patterns, and motifs to craft a design that feels authentically yours. Enhance your planner with photographs, meaningful quotes, or captivating illustrations that ignite your inspiration.
Embrace your creativity and allow your individuality to radiate through every page. Additionally, consider using clear stamps to effortlessly imprint charming designs and motifs that add a delightful touch to your planner’s aesthetic.
Focus on Functionality:
While aesthetics are important, don’t overlook the importance of functionality. Ensure that your planner layout supports efficient organization and planning. Use color coding, symbols, or icons to categorize tasks and events. Leave space for jotting down quick notes or ideas on the go. Prioritize usability to make your planner a practical tool you’ll love to use every day.
Experiment with Sections and Inserts:
Customize your planner further by adding specialized sections and inserts to suit your interests and lifestyle. Include sections for tracking health and fitness, budgeting and finances, or hobbies and creative projects. Experiment with different types of inserts such as habit trackers, mood trackers, or gratitude journals to enhance your planning experience.
Stay Organized with Indexing:
As your planner fills up with appointments, tasks, and notes, keeping track of everything can become challenging. Implement an indexing system to help you locate information quickly and easily. Number the pages of your planner and maintain a table of contents or index at the beginning or end. Categorize entries by date, topic, or priority to streamline navigation.
Embrace the Imperfections:
Remember that perfection is not the goal when designing your planner. Embrace the imperfections and quirks that make it uniquely yours. Don’t be afraid to experiment, make mistakes, and iterate on your design. Your planner should be a reflection of your journey and growth, not a flawless work of art.
Regularly Review and Update:
As life evolves, so too should your planner. Set aside time regularly to review your planner and make any necessary updates or adjustments. Reflect on what’s working well and what could be improved. Use feedback from your own experience to refine your design and make your planner even more effective.
Share Your Creations:
Finally, don’t keep your DIY planner all to yourself. Share your creations with friends, family, or online communities. Inspire others with your unique designs and creative ideas. You never know who might benefit from seeing how you’ve personalized your planner to fit your life.
In Conclusion
Designing your planner is a rewarding journey that combines practical organization with creative expression. By following these DIY tips and tricks, you can create a planner that not only helps you stay organized but also brings joy and inspiration to your daily life. Whether you’re a seasoned planner enthusiast or new to the world of planning, embrace the opportunity to design a planner that’s perfectly tailored to you.